")
")
How create a group?
To create a group you must be registered on the site. You can create a new profile or simply log in with your existing account (A). Registration is free. There are no further costs for users of the site. Not even for making calls or starting a group.
Step 1
Go to the groups-overview (see picture). At the left, above the groups-overview, click on "+ Create Group" (B).
Step 2
You will now enter a step-by-step plan in which you can indicate all the information of your group in various steps. At the bottom of each step, you can click the “ Continue ” button or, if necessary, the “Back” button. Some fields are required. These are indicated with an asterisk.
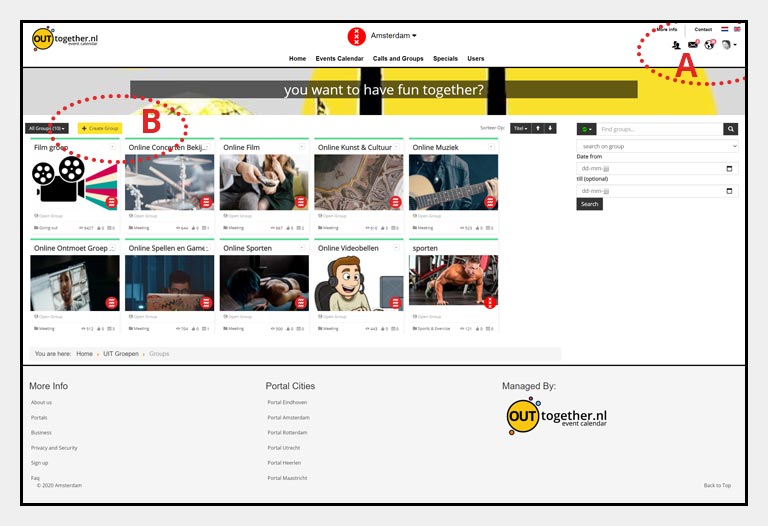
You can choose a category you want to be found in, you can provide a title and description of the group, contact details, whether you want a closed or public group, and some other things. At the end, you can also upload an image for your group.
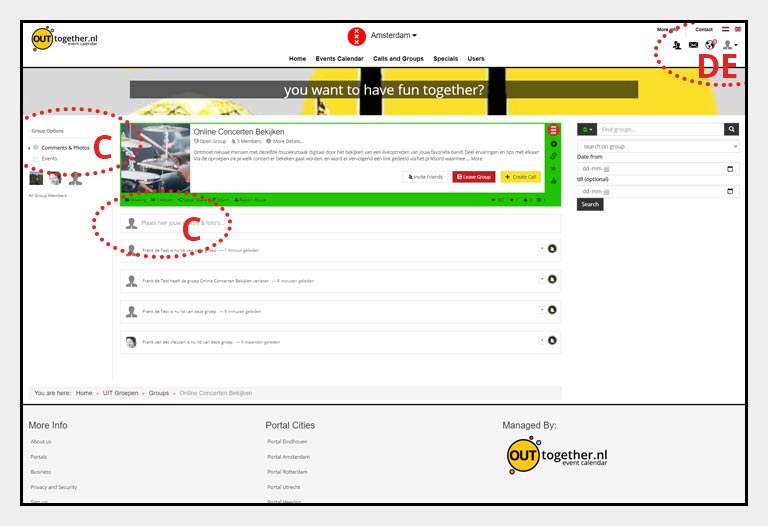
Then click the “ Send ” button. You will now get a detailed overview of your group (see image)
Note 1
If you want to share comments or photos for your group, you can easily add them via the group's bulletin board (C) . As soon as a message or photo is shared via the message board, members of the group will receive a message. You can find this via the globe (D) or by email (if you have set this in notification settings in your profile menu Click on your image at the top right (E) . Of course you can also add your email address to the description of a call. < br />
Continue with how manage a group?